How to enable Slideshow
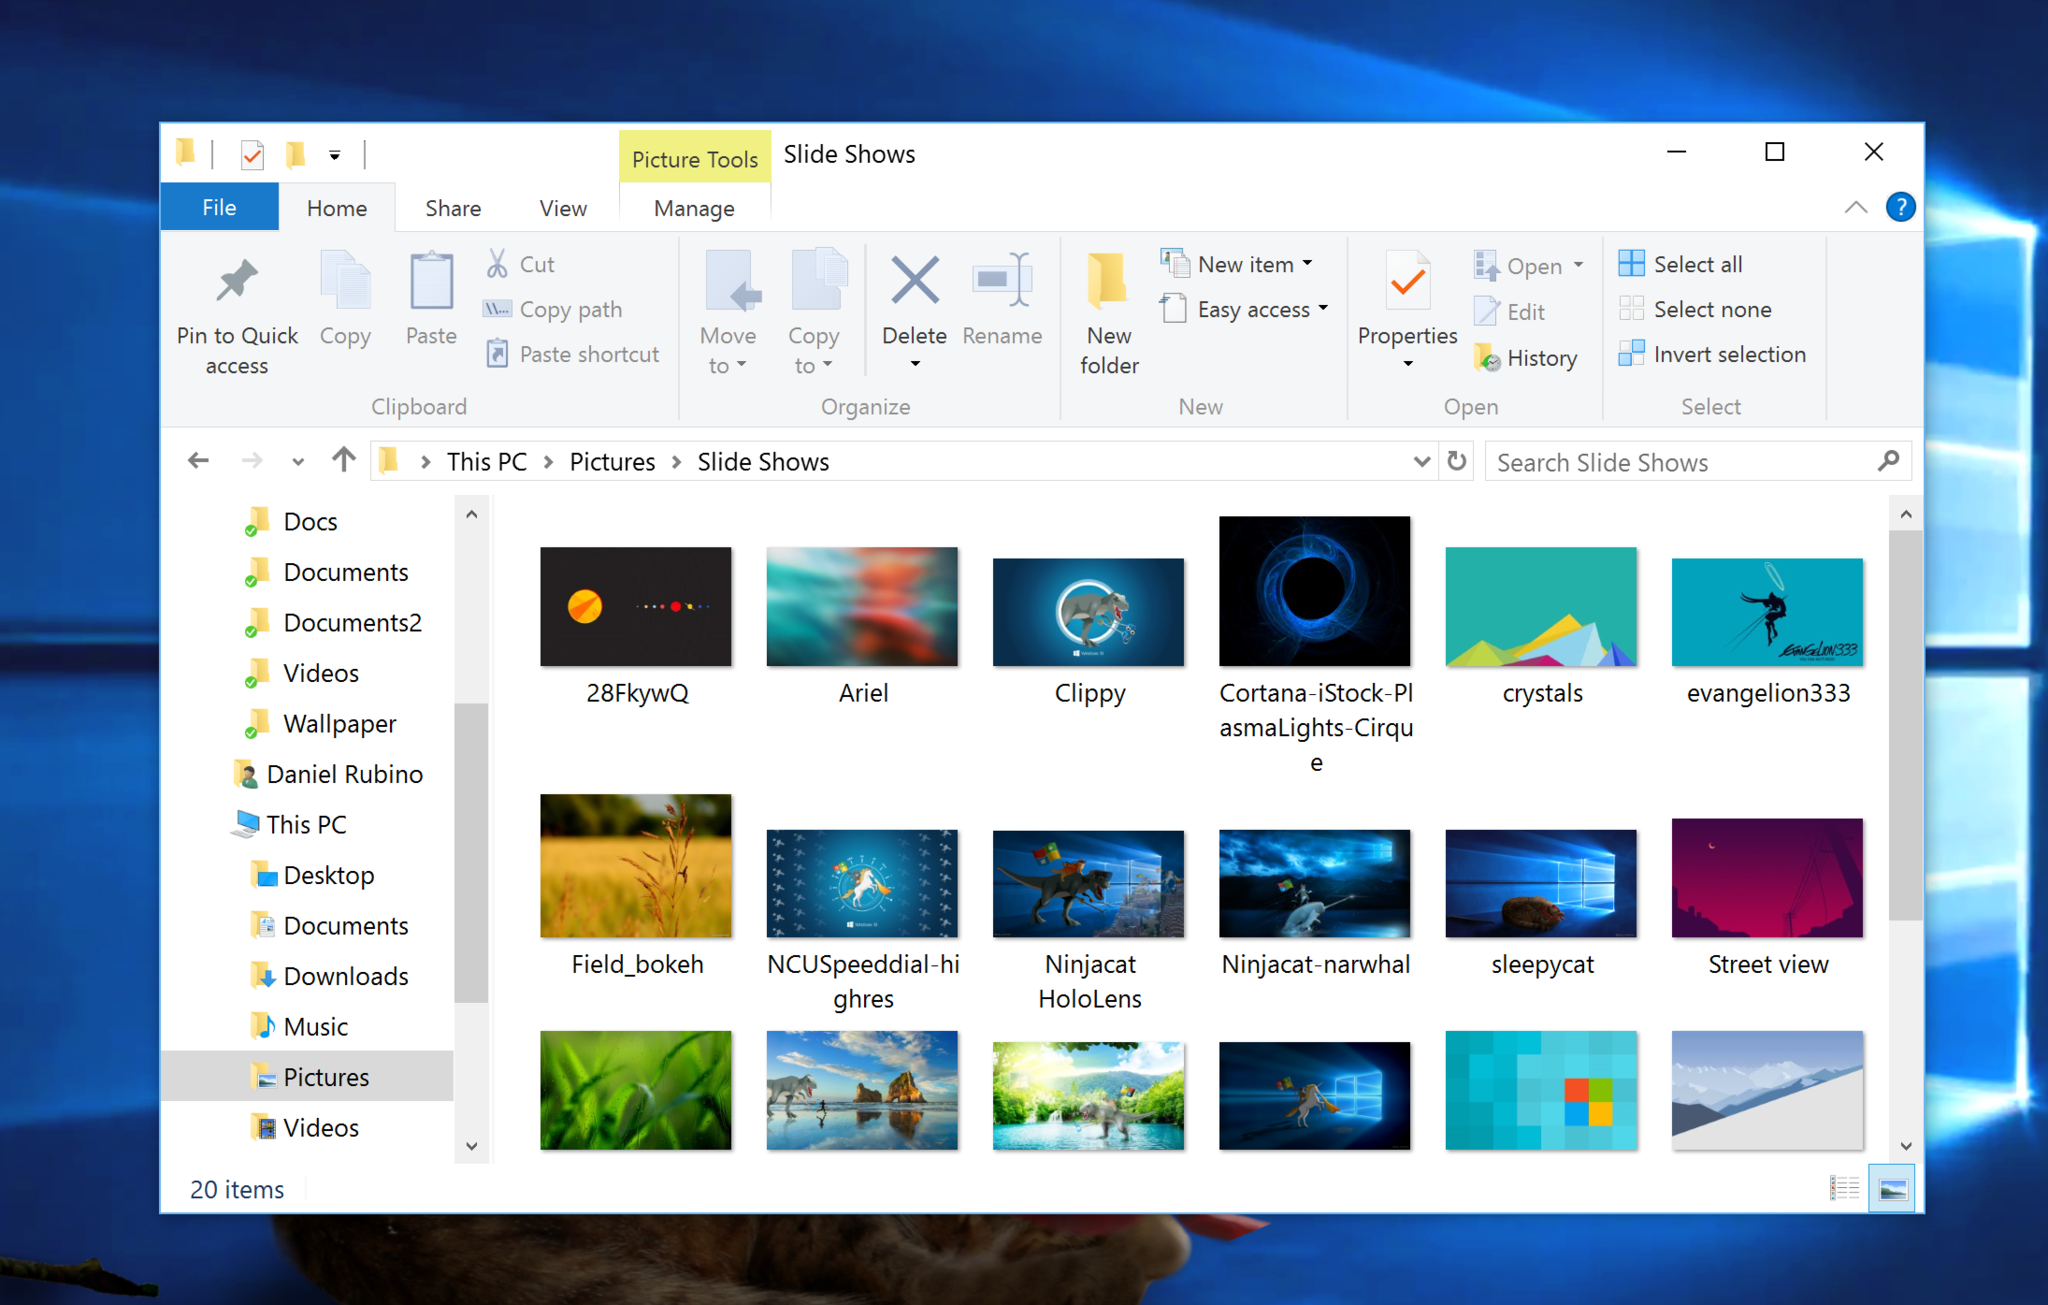
Enabling Slideshow is super simple. However, first you want to create a folder with all of your wallpaper that you want cycled. I recommend created a
Slideshow folder under the
Pictures folder. Once created, simply copy and paste (or move) all your images into that folder. You could even use a OneDrive folder if you please.
Remember, these wallpapers sync across
all your Windows 10 devices, regardless if the wallpapers are on their drives too.
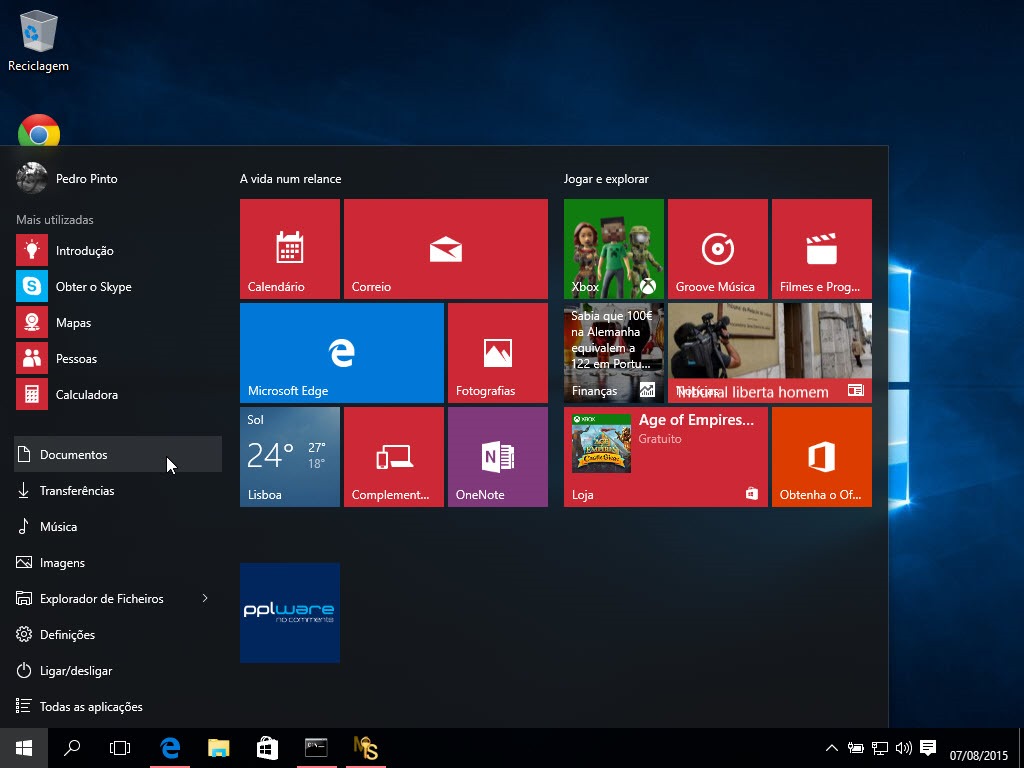
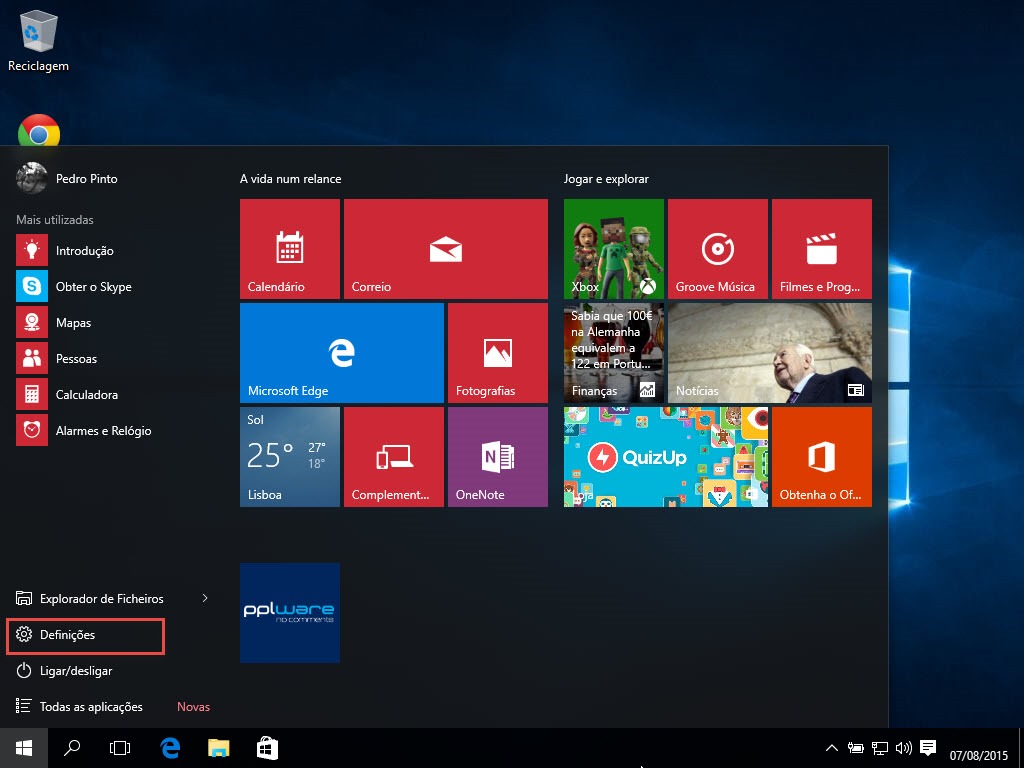
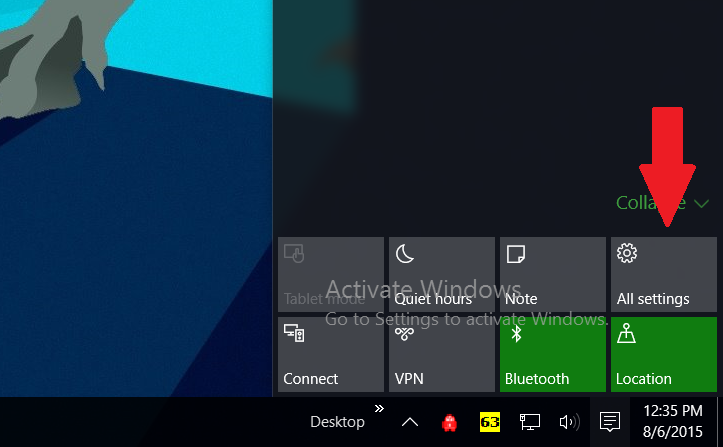
1. Go to All Settings by clicking the Notification Center
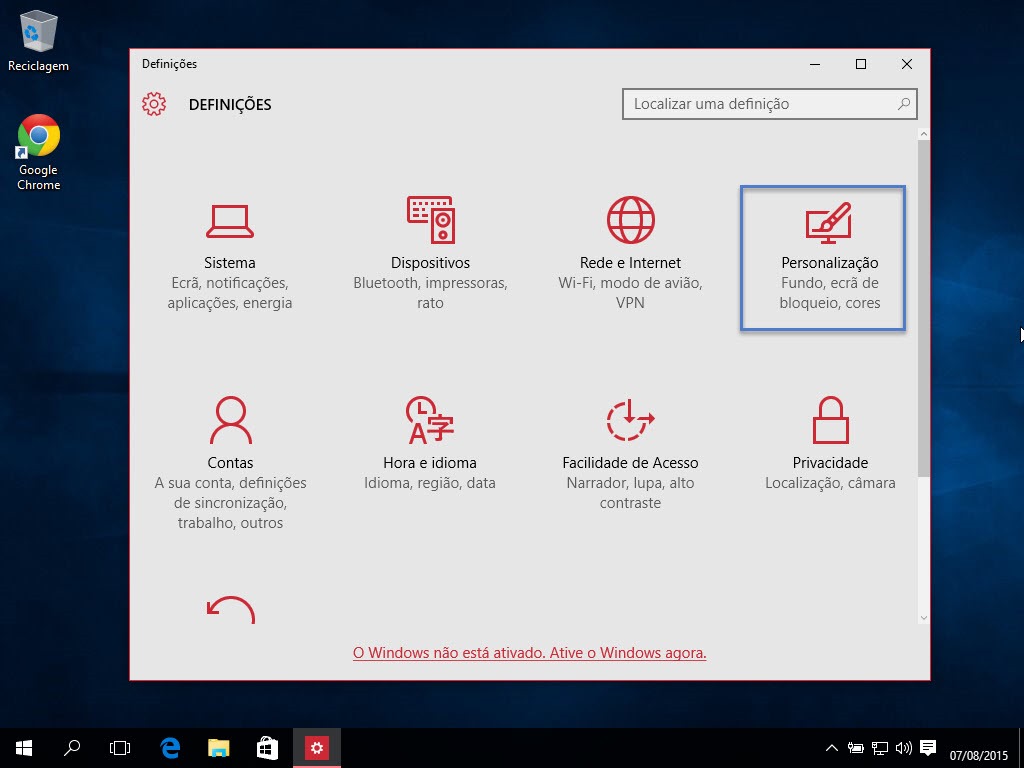
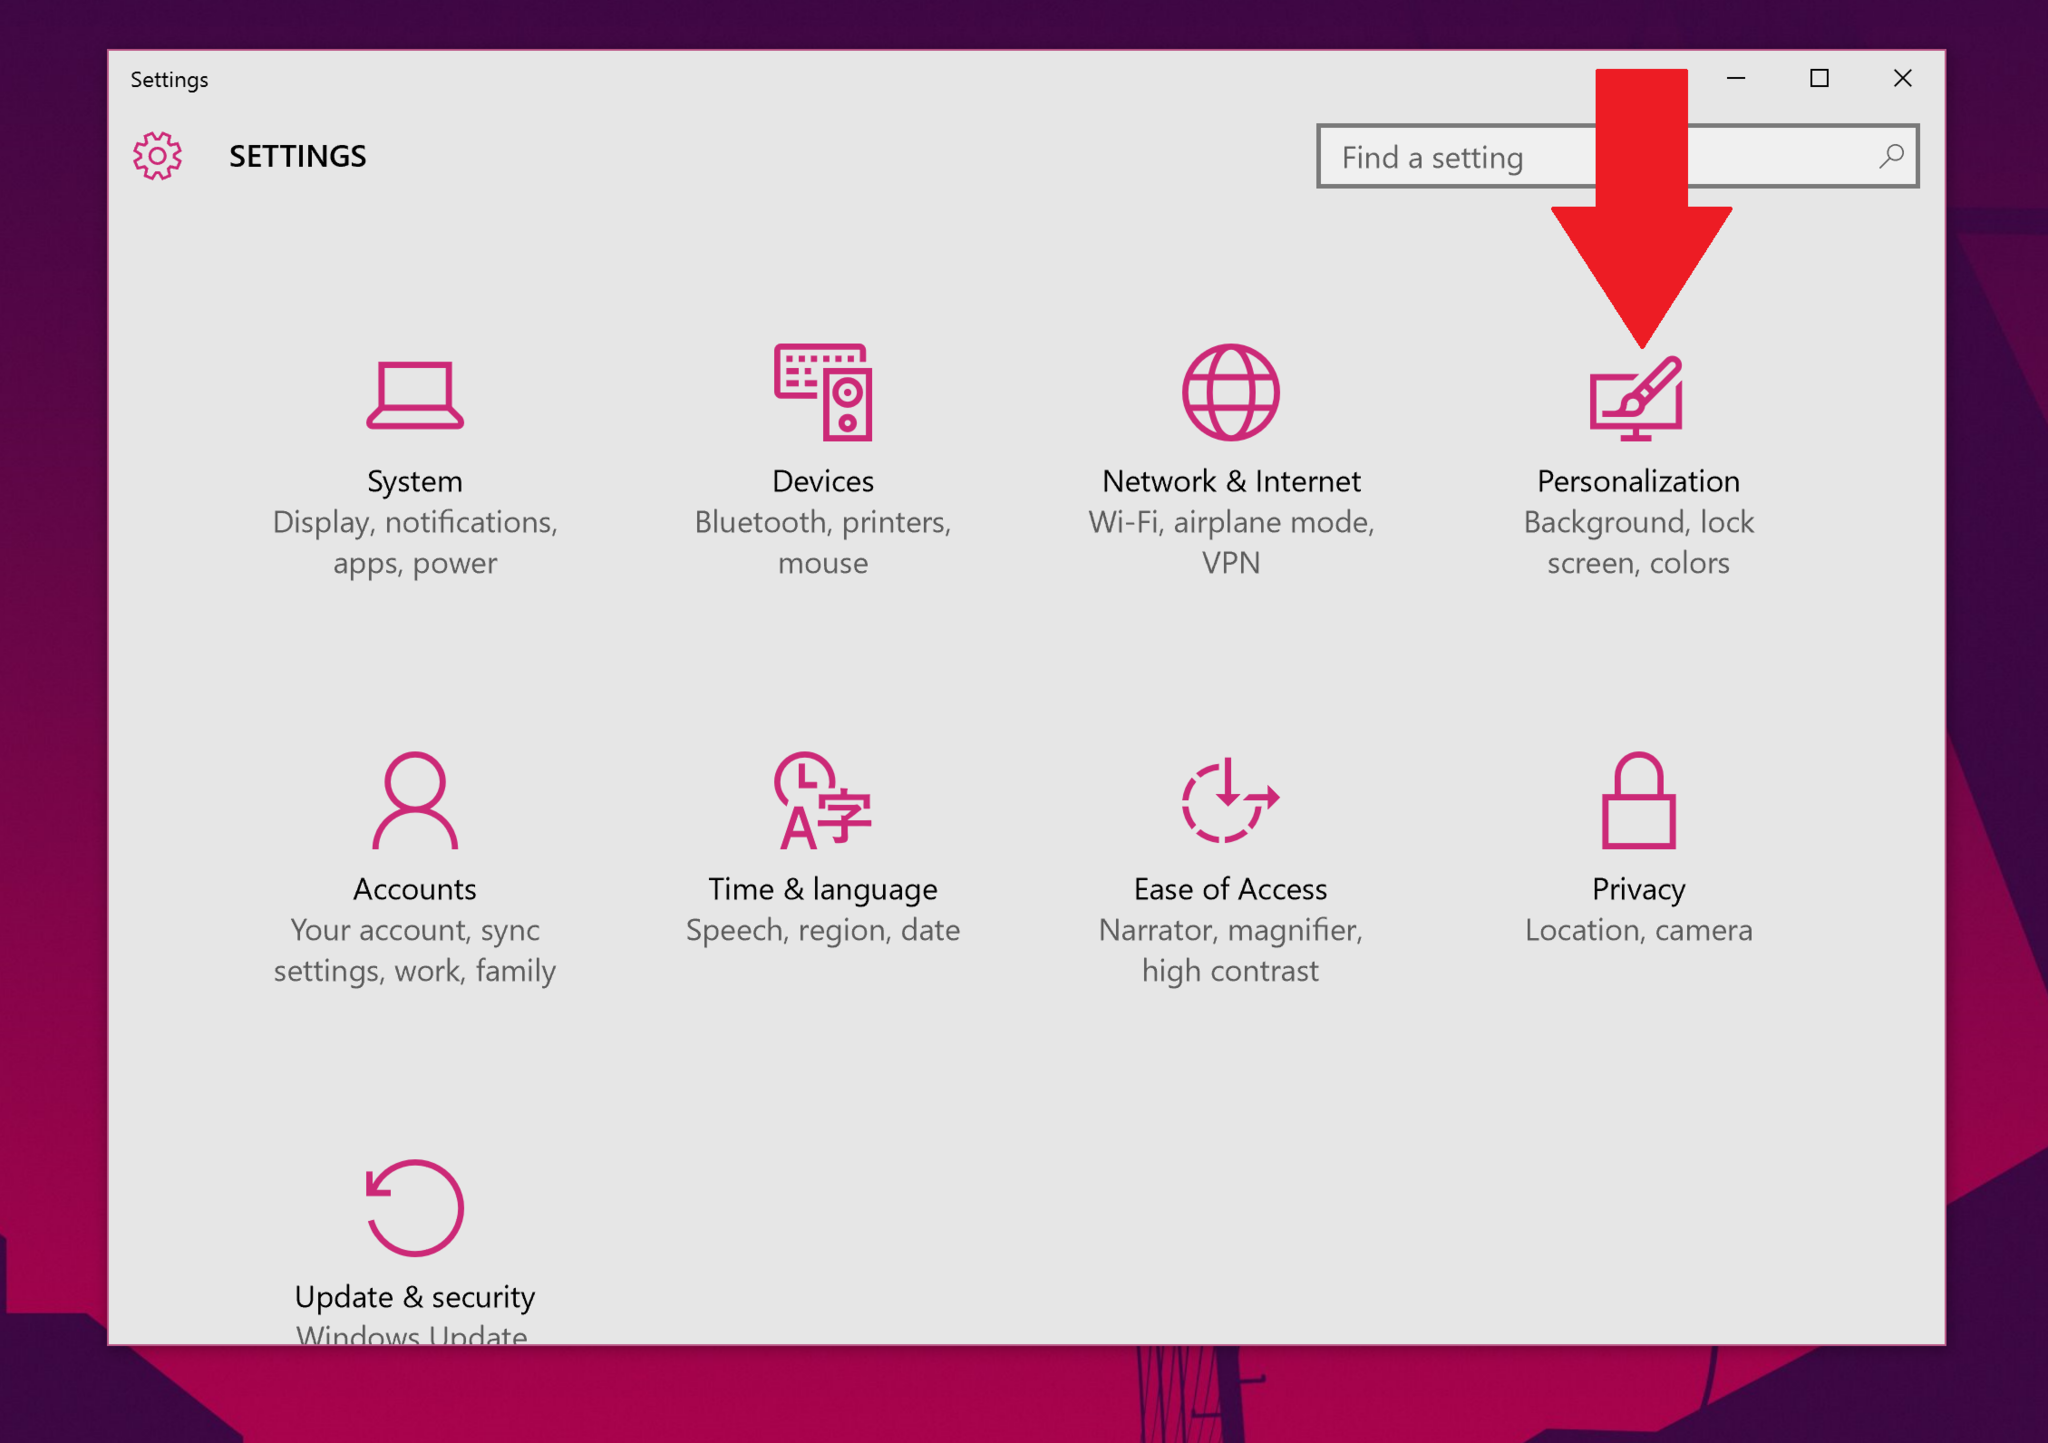
2. Personalization
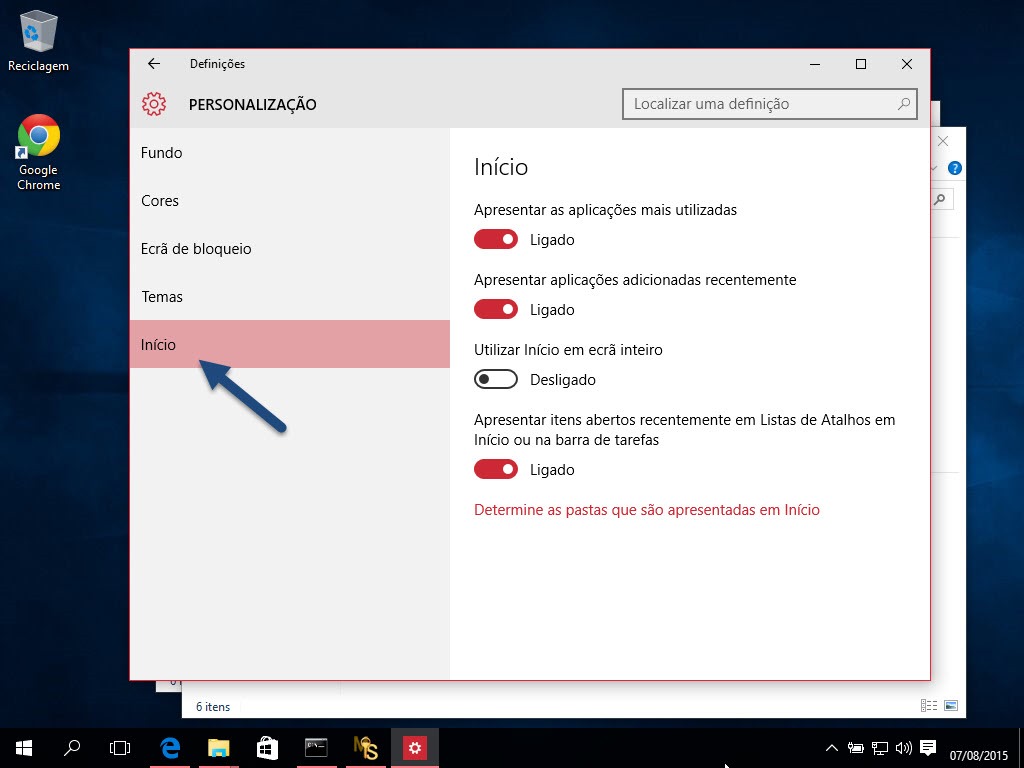
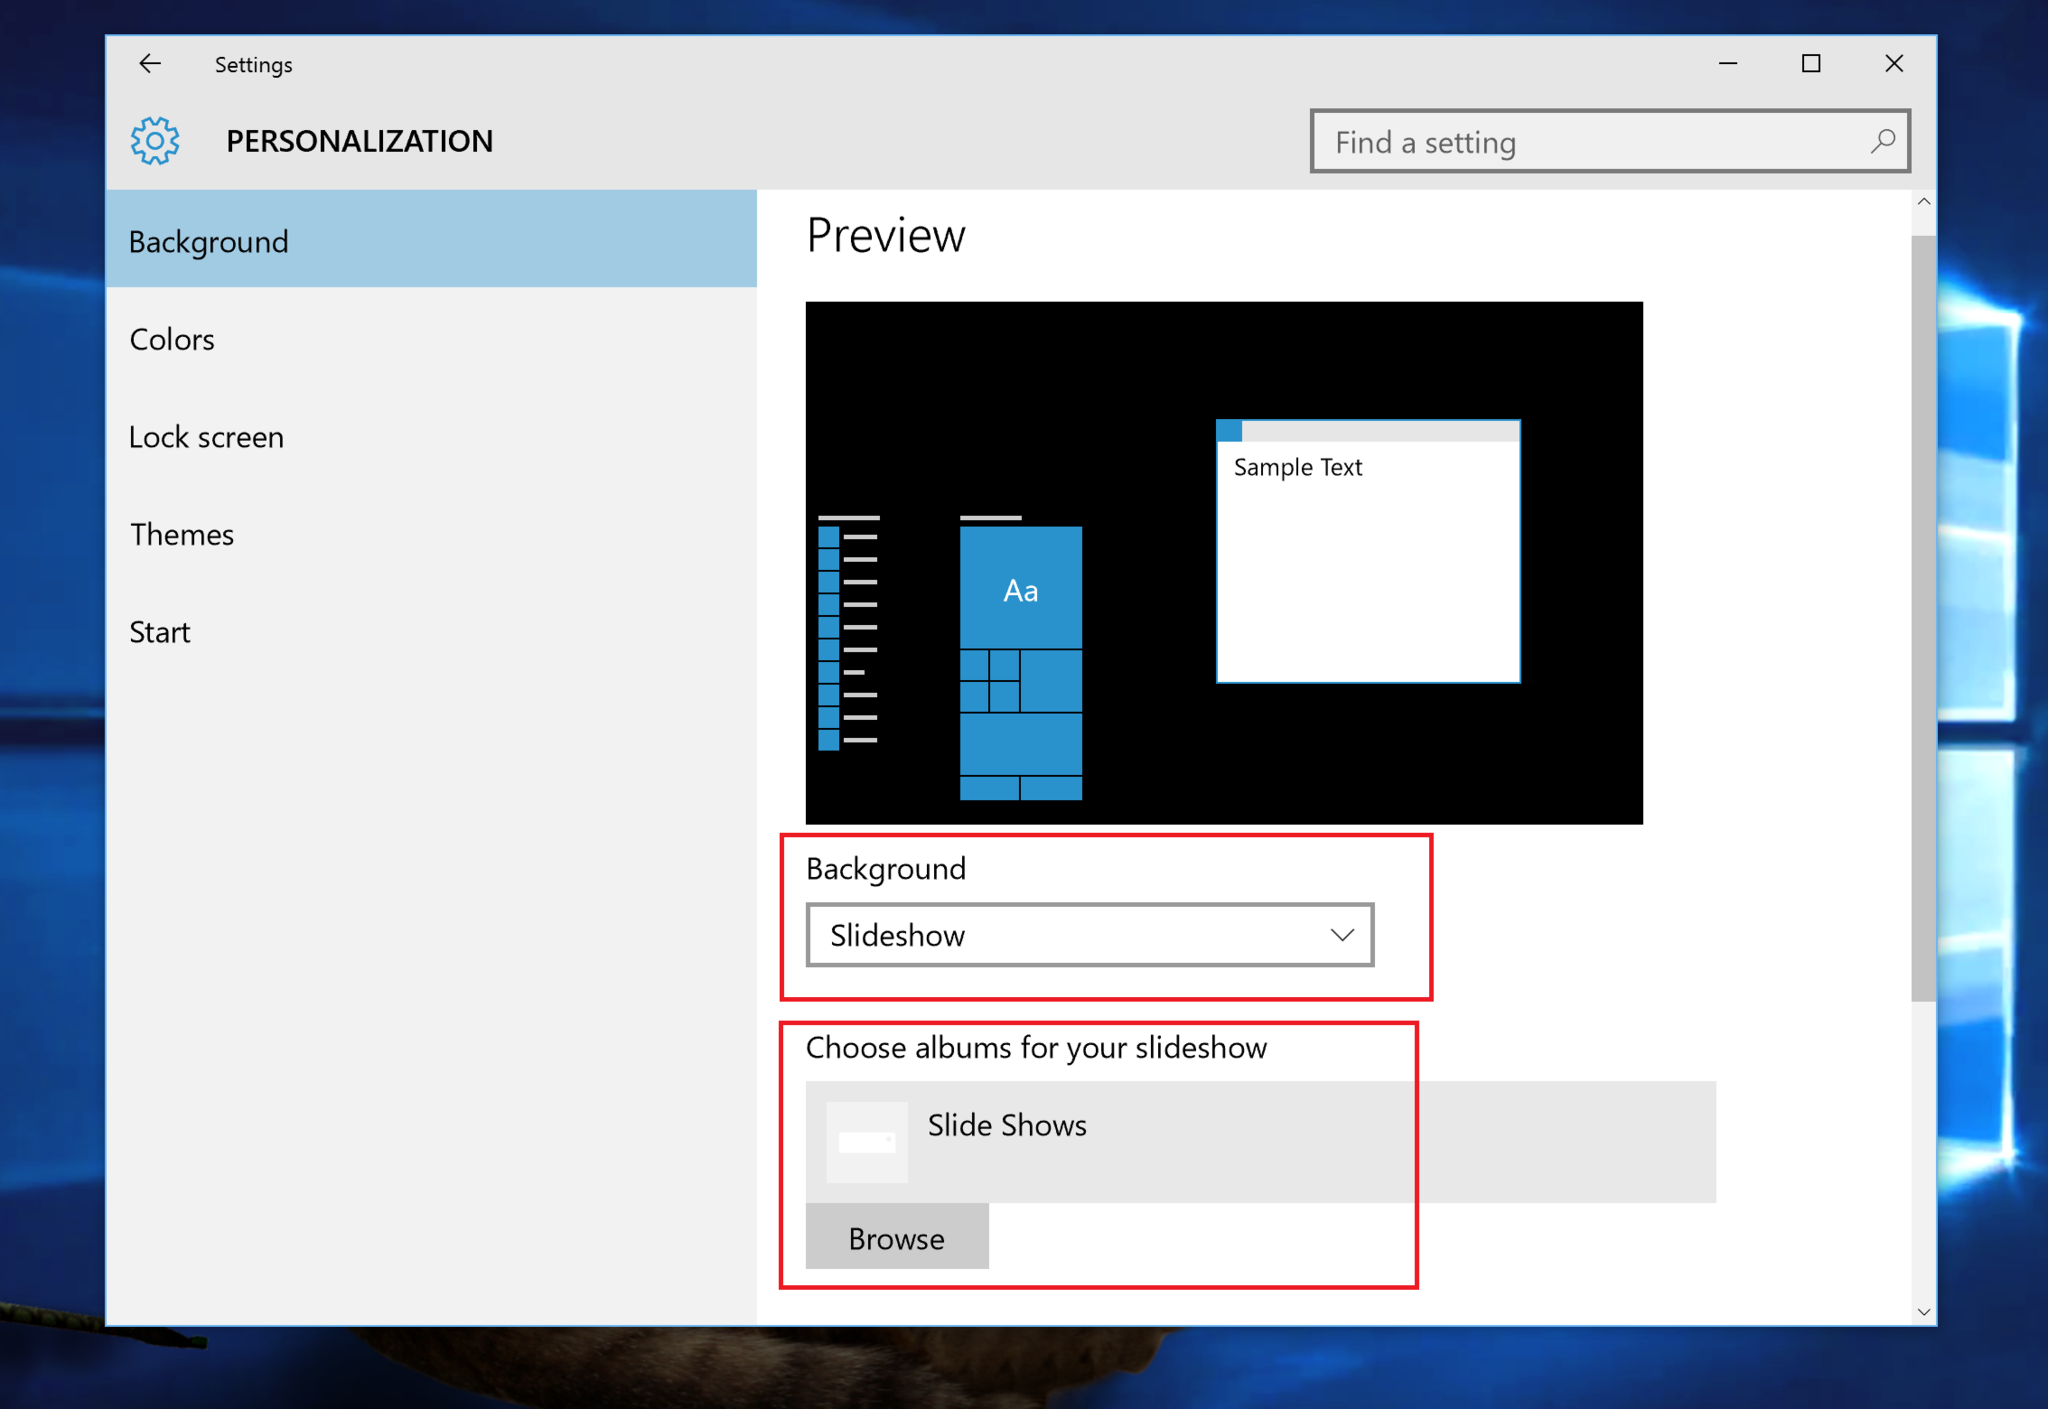
3. Background
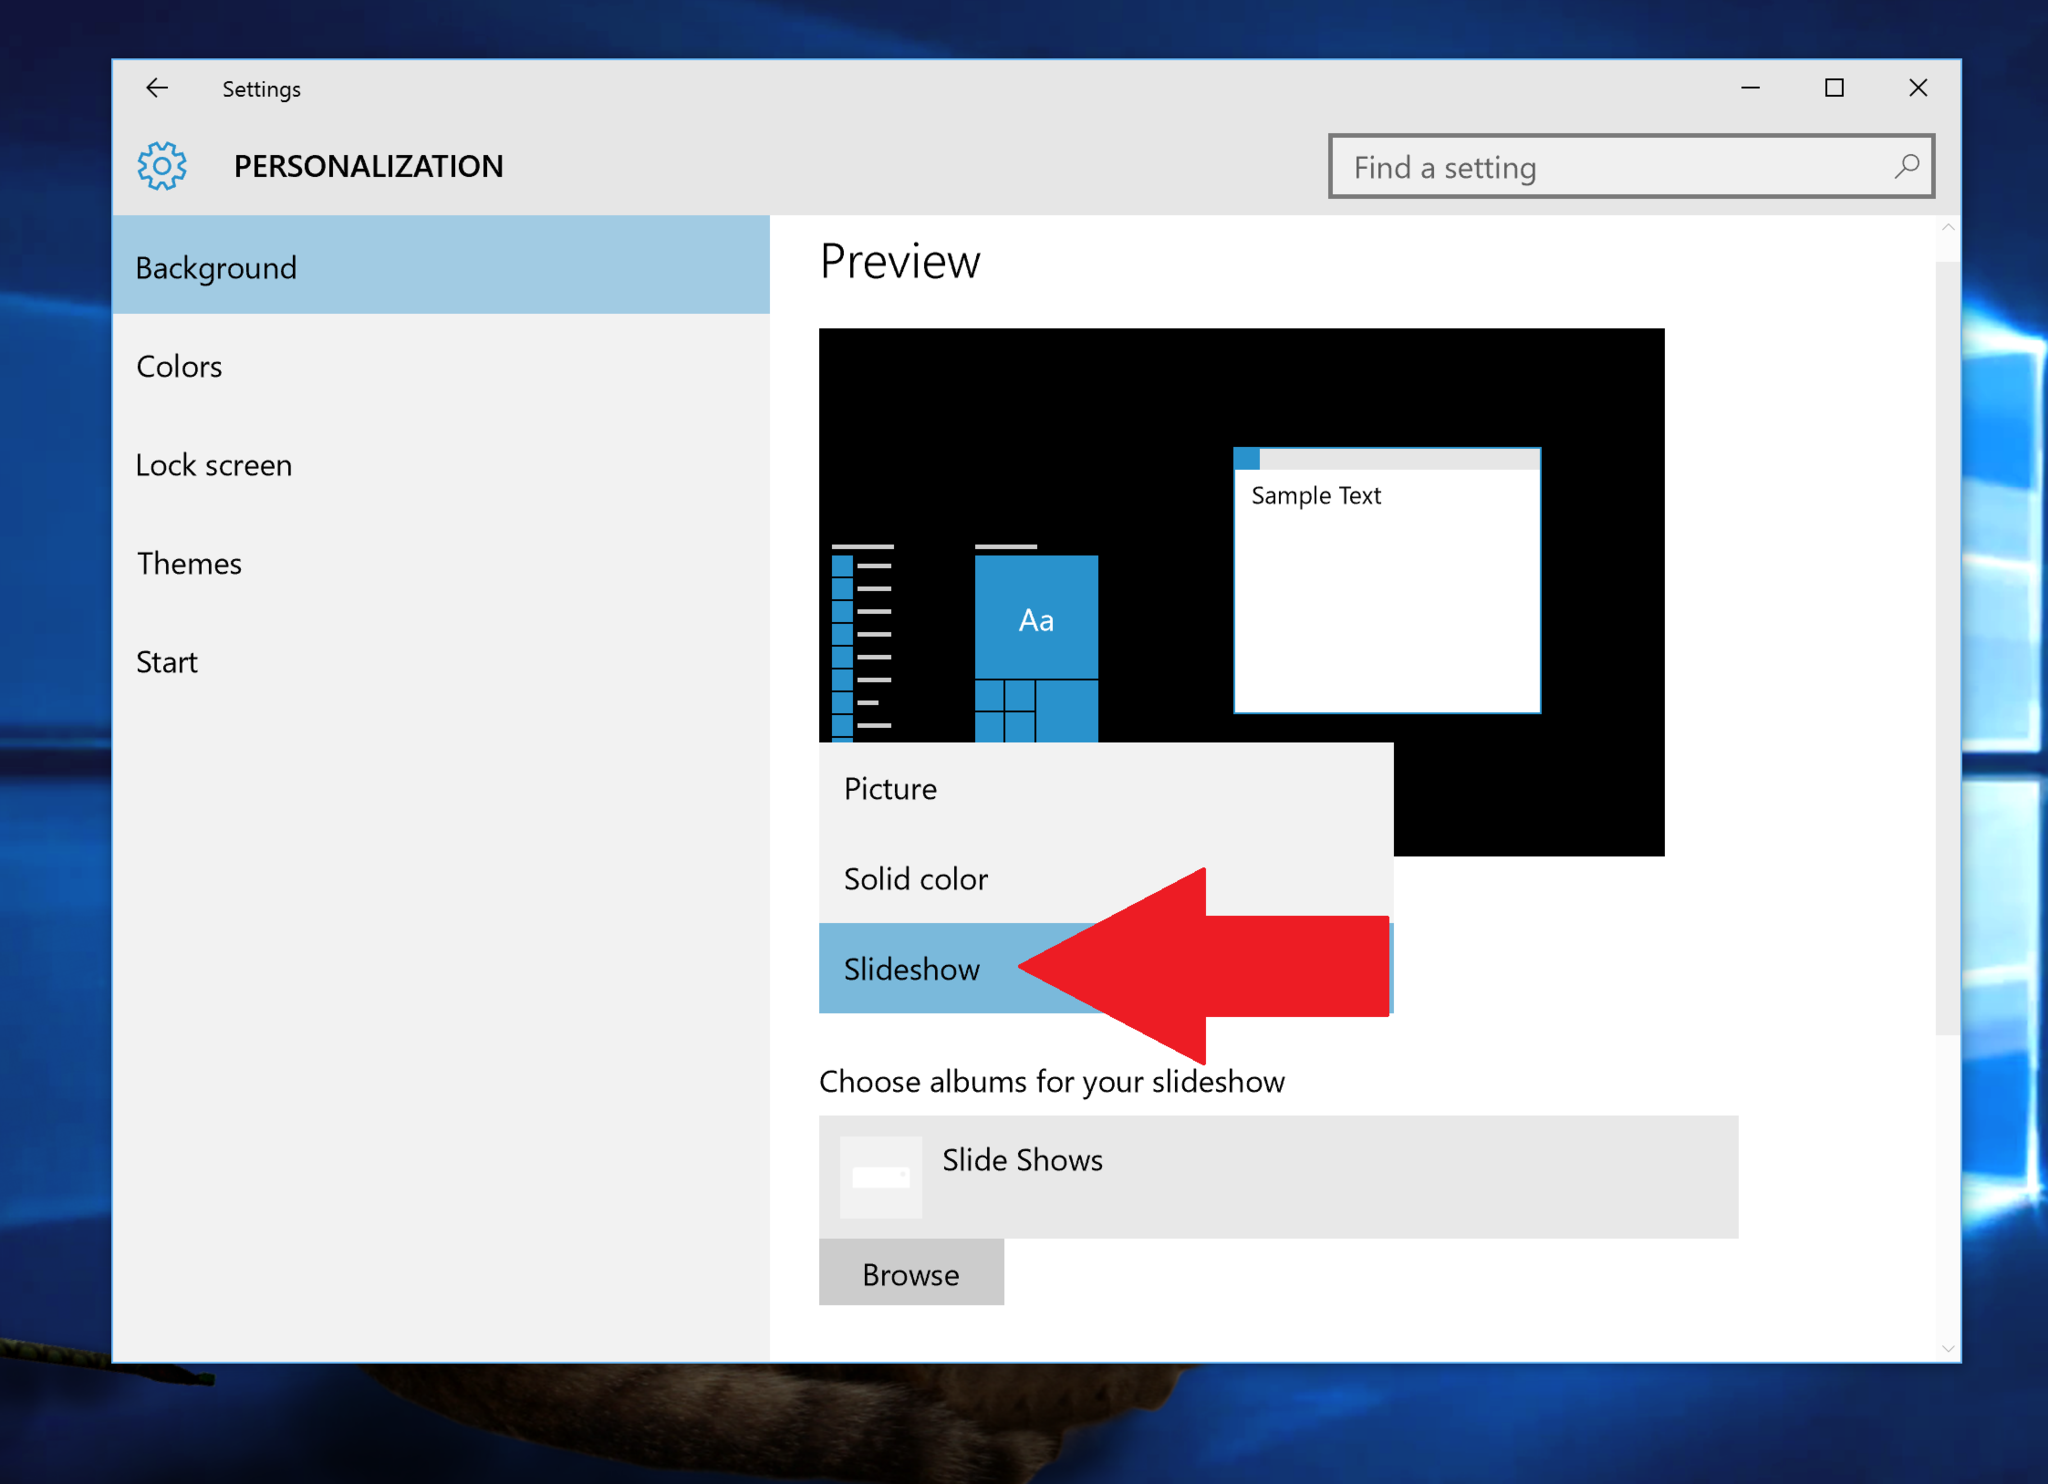
4. Choose Slideshow from the background drop menu
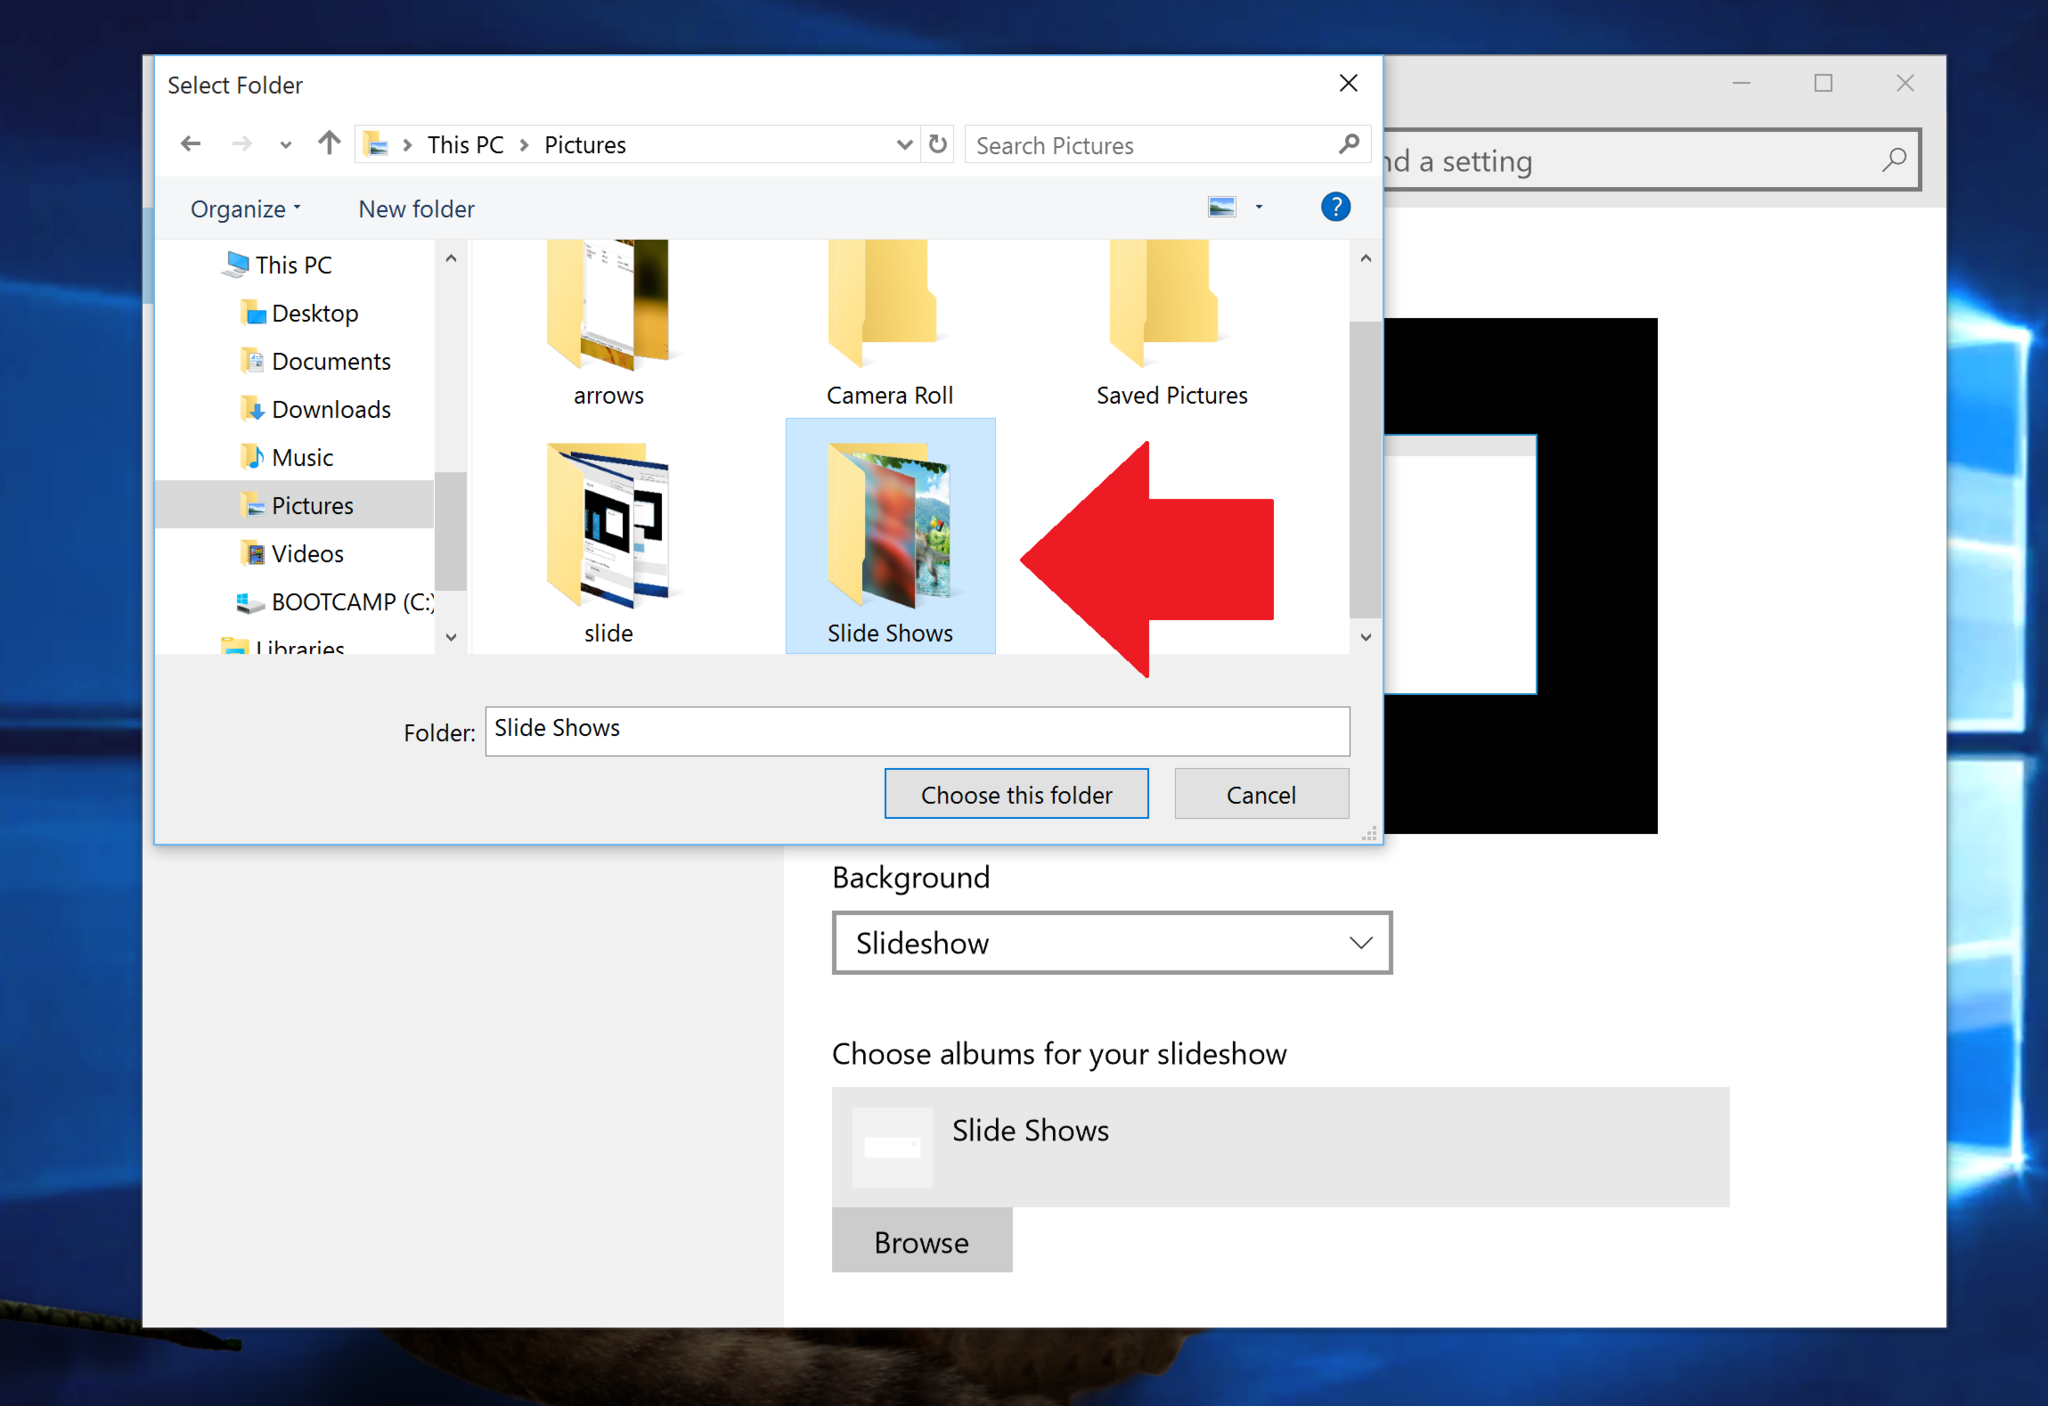
5. Choose Browse
Navigate to your
Slideshow folder that you created earlier to specify the directory
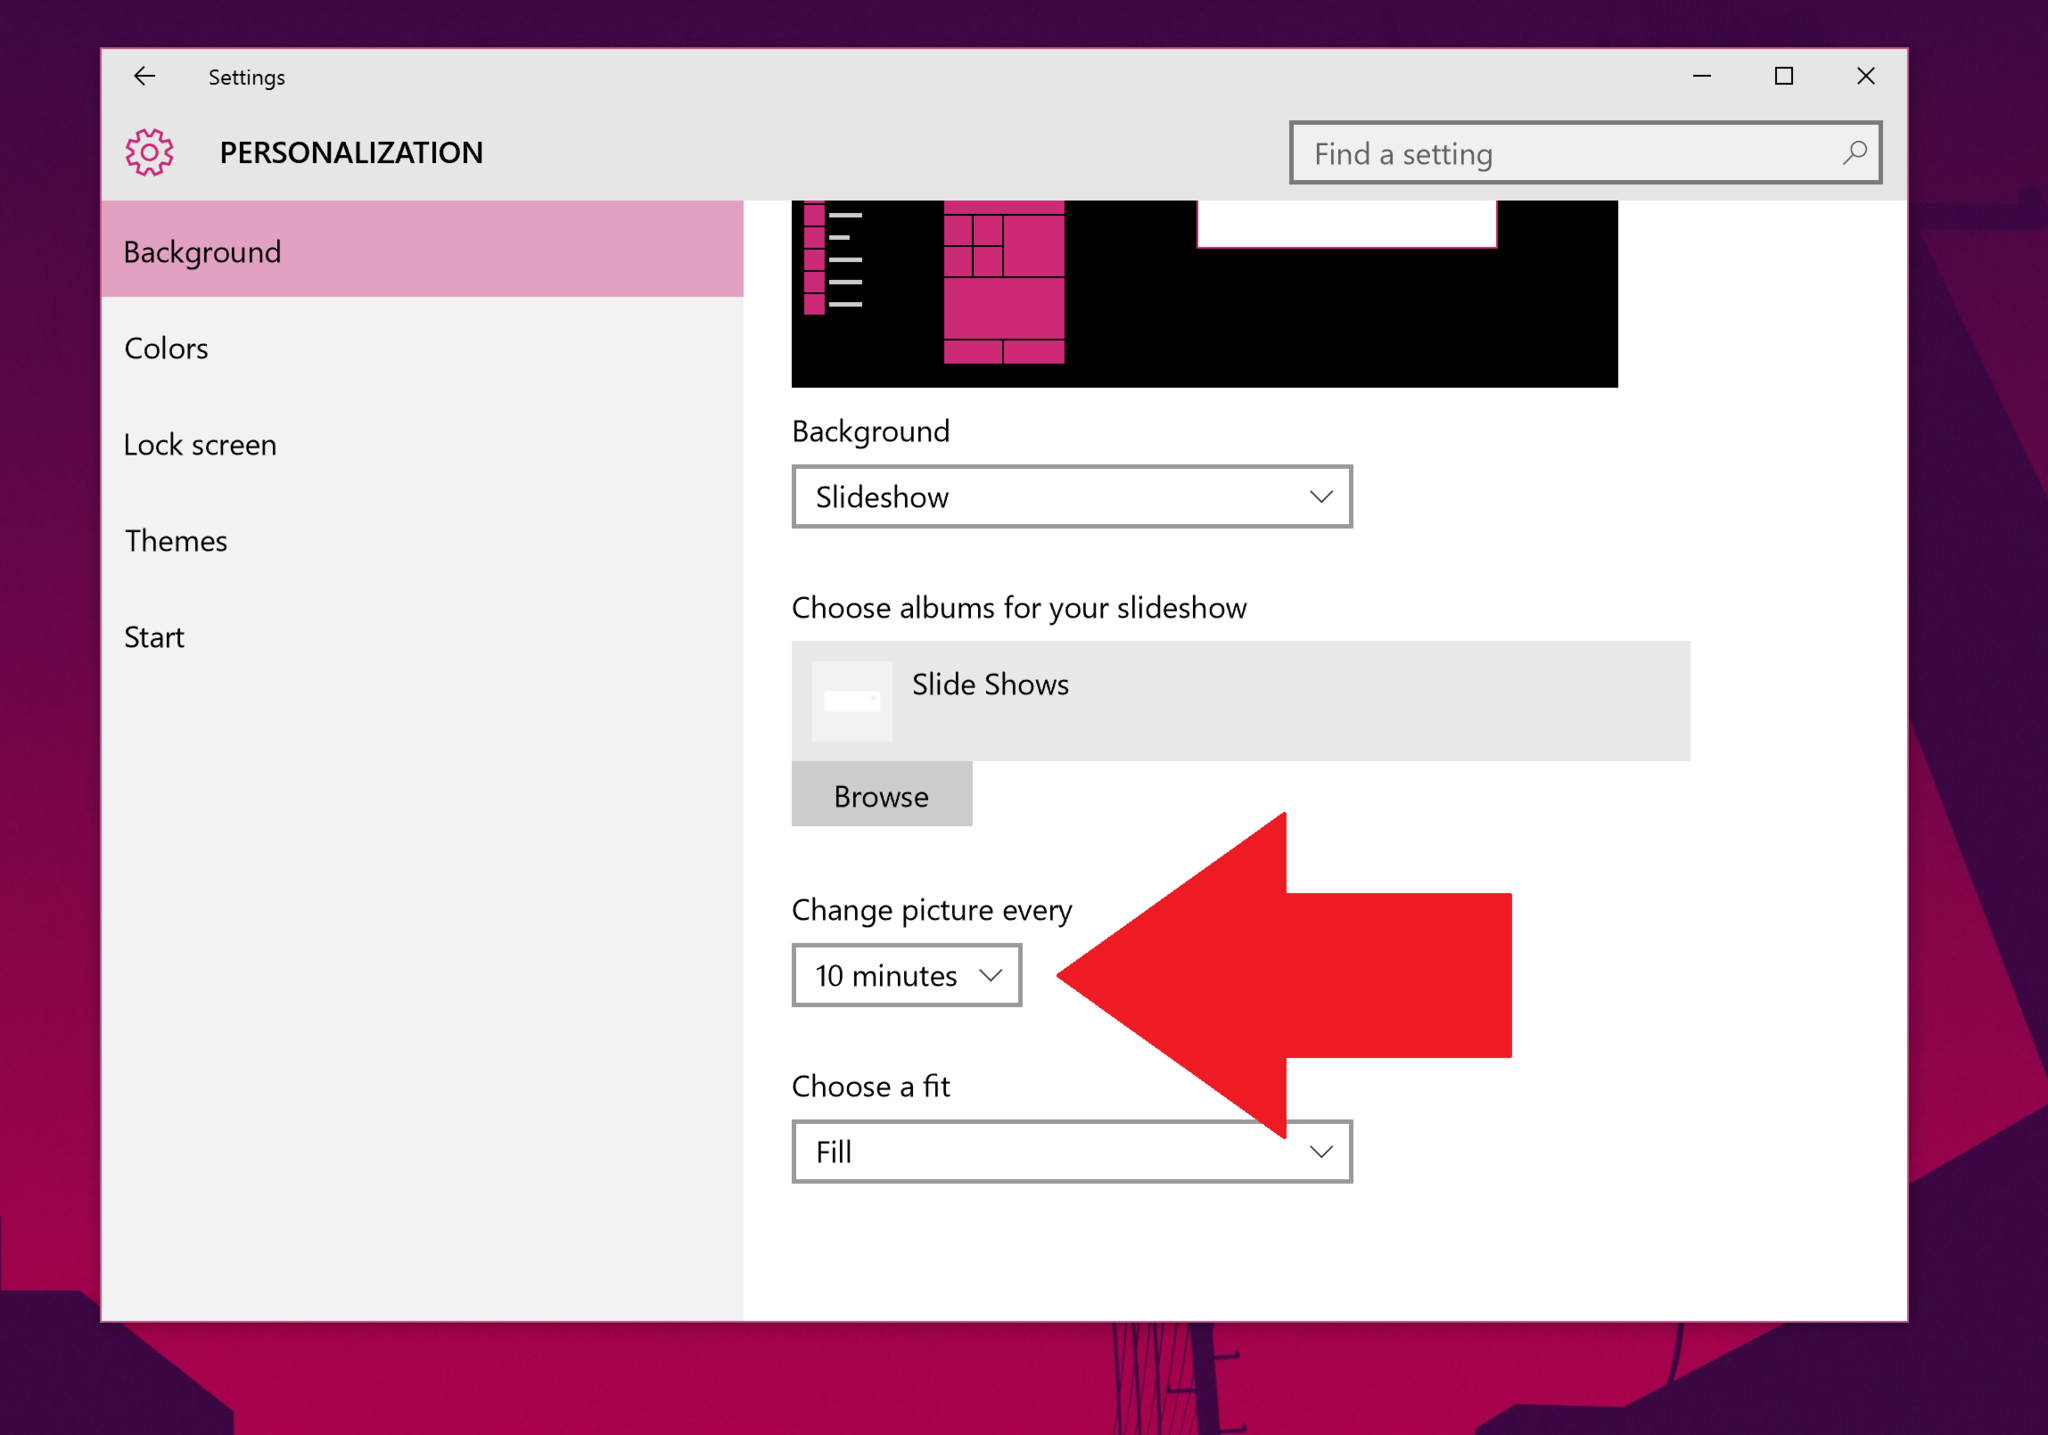
6. Set time interval
Under
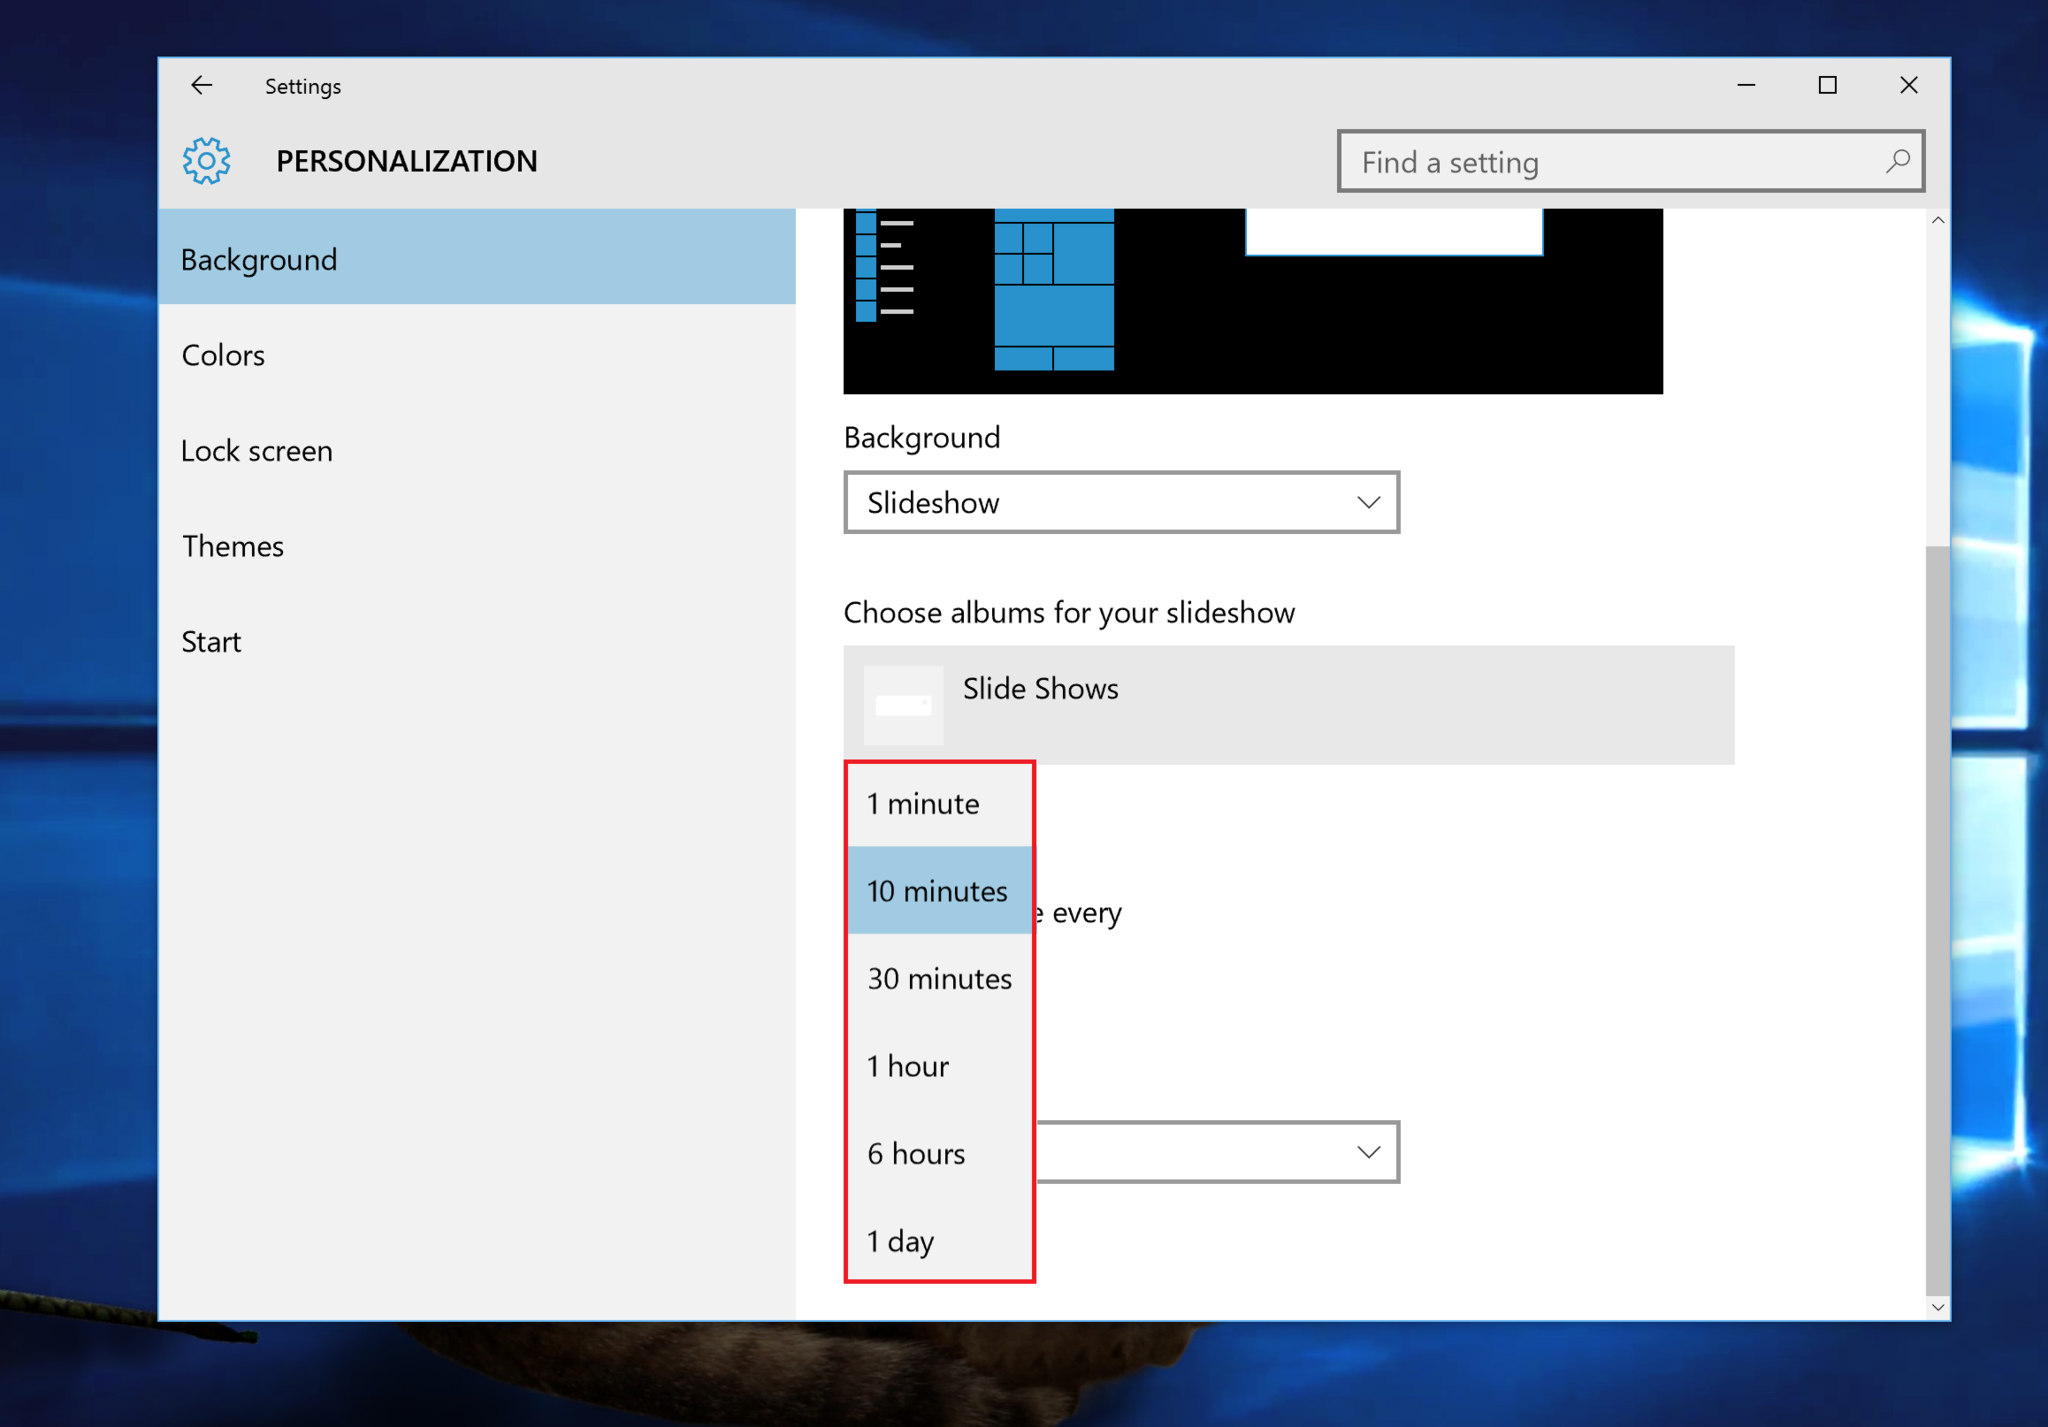
Change picture every choose your time preference of between 1 minute and 1 day. This selection is how often the OS auto-rotates your wallpaper. I elected for every 10 minutes for my system, but some of you may prefer just once a day. The choice is yours!
7. Choose a fit
This selection is purely optional. Most people opt for
Fit under this setting. Although if you have a smaller wallpaper you may wish to
Tile or
Stretch.
As a neat bonus, if you are running a multi-monitor setup, each monitor runs a separate/different wallpaper from your image dump. I have to admit, it is rather fun seeing three separate wallpapers cycle on my home PC.
How to enable when not plugged in
By default, the Slideshow feature does not work when a laptop that is unplugged from AC power. The reason should be obvious:
power savings.
It is not clear just how much energy is wasted in changing the wallpaper especially if it is just once an hour or more. Regardless, by default the OS puts the feature on pause until you plug the computer into a dedicated power source. So if you use Slideshow on your Surface Pro 3 and wonder why it is not changing…well, there you go.
You can, however, override this setting very simply using the OS tools. Just be aware that you are likely to impact your battery life.

 no windows 8.1 era cinzento! Até gostava.